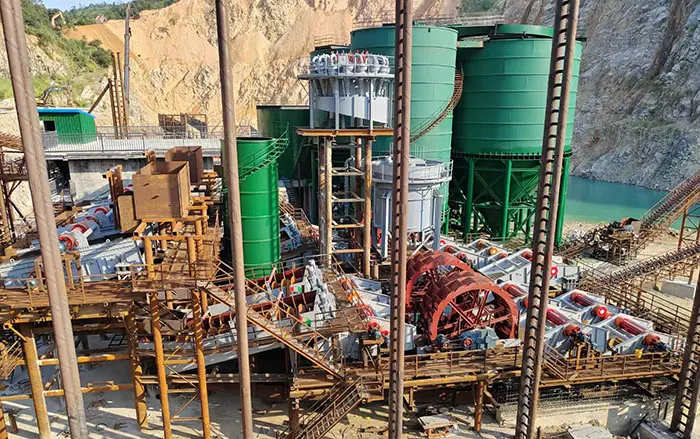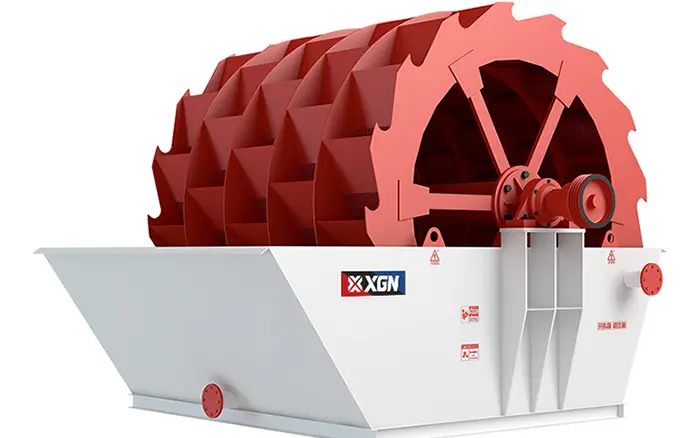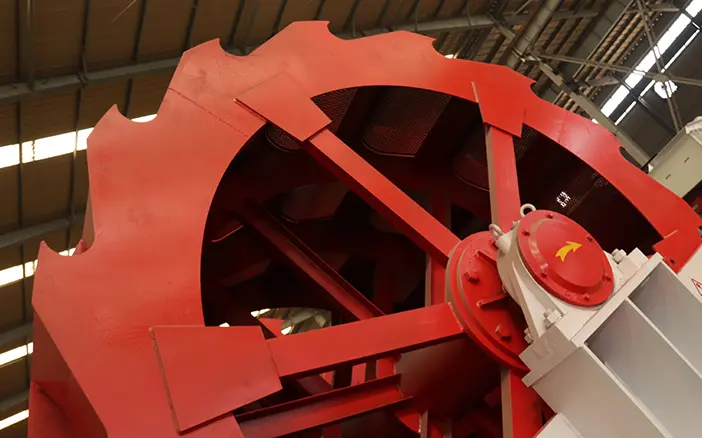
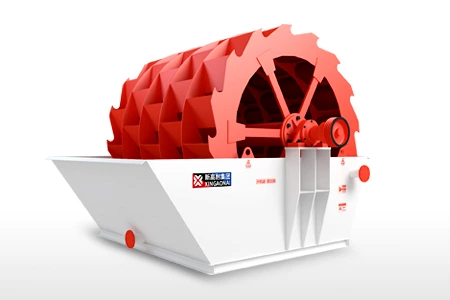
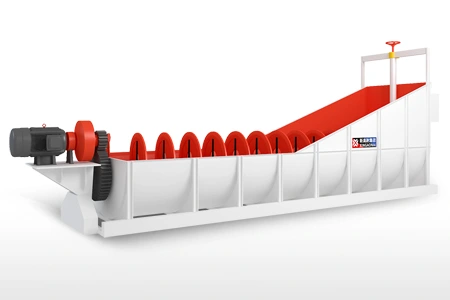
A wheel bucket sand washing machine operates continuously in a wet, abrasive and often dusty environment. Sand, slurry and moisture can enter seals, contaminate lubricants and accelerate wear in gears, bearings, shafts and motor components.
Gear damage and stator or rotor faults usually develop gradually. Early warning signs may include abnormal noise, gearbox overheating, vibration, unstable wheel speed, high motor current or repeated motor protection trips. If these symptoms are ignored, a relatively minor lubrication or alignment problem can develop into broken gear teeth, bearing failure or motor damage.
This guide explains how to identify the symptoms, determine the likely cause and decide whether the affected component should be adjusted, repaired or replaced.
Safety notice: Inspection and repair must be performed by trained personnel. Stop feeding, empty the machine, disconnect all electrical power and apply lockout/tagout procedures before opening guards, inspecting the drive system or working on the motor.
Common Warning Signs
The following symptoms can help narrow down the source of the fault.
| Symptom | Possible cause | Inspection priority |
|---|---|---|
| Knocking or clicking from the gearbox | Broken tooth, excessive backlash or loose gear | Stop the machine and inspect gears |
| Continuous grinding noise | Insufficient lubrication, bearing damage or poor gear alignment | Check oil and bearing condition |
| Gearbox overheating | Incorrect oil, excessive load, contamination or misalignment | Check temperature, oil and load |
| Oil leakage | Damaged seal, loose fastener or blocked breather | Inspect seals and housing |
| Strong vibration | Shaft misalignment, loose foundation or damaged bearing | Check alignment and mounting |
| Unstable wheel speed | Gear wear, belt slippage, motor fault or overload | Inspect the complete drive train |
| High motor current | Mechanical overload, phase imbalance or winding fault | Check the machine and motor |
| Motor trips repeatedly | Jammed wheel, bearing seizure, short circuit or overload | Do not restart until diagnosed |
| Burning smell or smoke | Winding insulation failure or severe overheating | Disconnect power immediately |
A fault should not be diagnosed from one symptom alone. For example, high motor current may result from an electrical fault, but it can also be caused by excessive material in the tank, a jammed bucket wheel or a damaged bearing.
Why Sand Washer Gears Fail
The gearbox and transmission system transfer motor power to the washing wheel. Common failure modes include adhesive wear, abrasive wear, pitting, broken teeth and corrosion.
Insufficient or Incorrect Lubrication
Low oil level prevents a stable lubricating film from forming between the gear teeth. Using oil with the wrong viscosity can also increase friction and temperature.
Possible causes include:
Failure to check the oil level;
Oil leakage around seals or housing joints;
Incorrect lubricant grade;
Excessively long oil-change intervals;
Blocked breather causing pressure buildup;
Mixing incompatible lubricants.
Dark oil, burnt odor, metal particles or a milky appearance indicate that the lubricant should be investigated. Milky oil commonly indicates water contamination.
Sand and Water Contamination
Damaged seals can allow water, dust and abrasive particles to enter the gearbox or bearing housing. Contaminated oil accelerates gear and bearing wear and may cause corrosion during shutdown periods.
Replacing the oil without repairing the seal will only provide temporary relief. The contamination path must be identified first.
Poor Gear Meshing
Incorrect backlash, shaft misalignment or an improperly installed bearing can concentrate the load on a small part of the gear tooth.
Typical evidence includes:
Uneven contact patterns;
Wear concentrated on one edge;
Excessive backlash;
Repeated bearing failure;
Noise that increases with load.
Alignment should be checked after replacing gears, shafts, bearings, couplings or the gearbox.
Overloading
The drive system can be overloaded when:
Feed rate exceeds the machine capacity;
Oversized material enters the washing tank;
Clay accumulates around the bucket wheel;
Foreign objects block the wheel;
The machine starts while heavily loaded;
Discharge is restricted.
Before replacing a damaged gear, determine whether the overload was caused by incorrect operation or an upstream process problem.
Poor Manufacturing or Installation
Insufficient tooth hardness, inaccurate machining, incorrect heat treatment or poor assembly can shorten gear life. However, manufacturing defects should only be considered after lubrication, contamination, alignment and operating load have been checked.
Gearbox Inspection Procedure
Before opening the gearbox, record the symptoms and operating conditions. This information helps prevent unnecessary disassembly.
1. Check the External Condition
Inspect:
Oil leakage;
Loose foundation bolts;
Damaged guards;
Coupling condition;
Belt tension, if applicable;
Cracks in the housing;
Blocked breathers;
Abnormal movement of the input or output shaft.
Loose mounting bolts can create vibration that resembles an internal gearbox fault.
2. Check the Lubricant
Verify the oil level and compare the lubricant with the grade specified in the equipment manual.
Look for:
Water contamination;
Metal particles;
Sand or dust;
Burnt odor;
Abnormal discoloration;
Excessive foaming.
If metal particles are present, the gearbox should be opened and inspected before operation continues.
3. Check Bearings and Shafts
Rotate the shaft manually only after the machine has been electrically isolated and confirmed safe.
Check for:
Rough rotation;
Excessive radial or axial movement;
Binding;
Bearing noise;
Seal damage;
Shaft wear.
A damaged bearing can change gear alignment and cause secondary tooth damage.
4. Inspect Gear Teeth
Examine the tooth surfaces for:
Pitting;
Scoring;
Cracks;
Broken teeth;
Corrosion;
Uneven wear;
Plastic deformation;
Abnormal contact patterns.
Minor surface polishing may not require immediate replacement. Deep pitting, cracks or broken teeth generally require the damaged gear set to be replaced.
5. Check Backlash and Alignment
Measure backlash and shaft alignment using the limits specified by the gearbox manufacturer.
Do not reuse the original setting automatically after replacing a gear or bearing. The complete gear contact and shaft position should be checked again.
How to Repair Gear Damage
The repair method depends on the severity and cause of the damage.
Minor Wear
If the tooth surface shows only light, uniform wear:
Correct the lubrication problem;
Replace contaminated lubricant;
Repair leaking seals;
Check backlash and alignment;
Monitor noise, temperature and vibration.
Continue operating only when the gear remains within the manufacturer’s acceptable wear limits.
Severe Pitting or Uneven Wear
For deep pitting or wear concentrated on one side:
Check shaft and bearing alignment;
Inspect the housing and bearing seats;
Verify the gear contact pattern;
Replace excessively worn components;
Correct the root cause before reassembly.
Replacing only one damaged component without correcting misalignment can lead to repeated failure.
Cracked or Broken Teeth
A cracked or broken gear should normally be replaced. Welding or locally repairing a heavily loaded gear may alter hardness and introduce new stress concentrations.
If one gear in a matched pair is badly damaged, inspect the mating gear carefully. Replacing the complete pair may be necessary when their wear patterns are no longer compatible.
Motor Stator and Rotor Failure Symptoms
The motor drives the gearbox and bucket wheel. Motor faults may be caused by moisture, overloading, voltage imbalance, poor ventilation, bearing wear or mechanical contact between the stator and rotor.
Typical symptoms include:
High operating current;
Unequal current between phases;
Motor overheating;
Reduced torque;
Humming without normal rotation;
Repeated overload trips;
Excessive vibration;
Burning odor;
Abnormal bearing noise;
Visible discoloration of windings.
Motor overheating does not always mean that the winding has failed. The mechanical load must be checked before the motor is removed.
Common Causes of Stator and Rotor Damage
Bearing Wear and Rotor-to-Stator Contact
Excessive bearing clearance can allow the rotor to contact the stator. This may damage the core surface, insulation and winding.
Inspect the bearings, shaft, end covers and air gap before replacing or rewinding the motor.
Moisture and Corrosion
Sand washing equipment works close to water and slurry. Damaged cable glands, seals or terminal-box covers can allow moisture to enter the motor.
Moisture can reduce insulation resistance, corrode the core and cause winding leakage or short circuits.
Overload and Poor Cooling
A jammed bucket wheel, overloaded tank or damaged gearbox can force the motor to operate above its rated current. Blocked ventilation passages, accumulated dust or a damaged cooling fan can further increase temperature.
Voltage or Phase Imbalance
Low voltage, missing phases, loose terminals and phase imbalance can cause high current and uneven winding temperature. The supply system should be checked before concluding that the motor itself has failed.
Winding Short Circuit or Ground Fault
Damaged insulation can create a turn-to-turn short circuit, phase-to-phase short circuit or ground fault. These faults require electrical testing by qualified personnel.
Motor Inspection and Testing
After isolating the power supply:
Inspect the terminal box, cables and connections.
Check for moisture, corrosion or burnt areas.
Inspect the cooling fan and ventilation passages.
Rotate the shaft and check bearing condition.
Measure winding resistance between phases.
Check insulation resistance using appropriate test equipment.
Measure operating current after safe recommissioning.
Compare voltage and current between all phases.
Electrical test results should be evaluated using the motor manufacturer’s limits and applicable electrical standards.
Repair or Replace the Motor?
Minor problems such as loose terminals, damaged cable glands, blocked ventilation passages or replaceable bearings may be repaired on site by qualified technicians.
Professional motor repair is usually required when:
Winding insulation has failed;
The stator winding is burnt;
The rotor or stator core is seriously damaged;
The shaft is bent;
The motor has suffered extensive water ingress;
Rotor-to-stator contact has damaged the air gap;
Repeated faults continue after mechanical problems are corrected.
Replacement may be more economical when the core, shaft and windings are all damaged or when repair costs approach the price of a correctly specified new motor.
Safe Restart Procedure
After repairs:
Confirm that all tools and loose parts have been removed.
Check lubrication, bolts, guards and electrical connections.
Rotate the drive manually if the manufacturer permits it.
Start the machine without feed.
Observe rotation direction, noise, vibration and temperature.
Introduce material gradually.
Monitor motor current and gearbox temperature under load.
Stop immediately if abnormal noise, vibration or overheating returns.
Do not repeatedly reset the motor protection device without identifying the cause of the trip.
Preventing Repeated Failures
A preventive maintenance program should include:
Regular lubricant level and condition checks;
Scheduled oil replacement;
Inspection of seals and breathers;
Monitoring of gearbox temperature;
Bearing noise and vibration checks;
Foundation and mounting-bolt inspection;
Belt or coupling inspection;
Motor-current monitoring;
Cleaning of motor ventilation passages;
Control of feed size and feed rate;
Removal of foreign objects before they enter the washer.
Operating data should be recorded over time. Gradual increases in temperature, current or vibration can reveal a developing fault before a major shutdown occurs.
For projects that require equipment selection or a complete washing circuit, review the wheel bucket sand washing machine and the sand washing plant design guide.
Conclusion
Gear and motor failures in a sand washing machine are often connected. A damaged bearing or overloaded bucket wheel can increase motor current, while poor alignment can damage both the gearbox and transmission components.
Effective troubleshooting therefore requires checking the complete drive system rather than replacing the visibly damaged part alone. Early inspection, correct lubrication, controlled feeding and regular condition monitoring can reduce unplanned downtime and extend equipment service life.