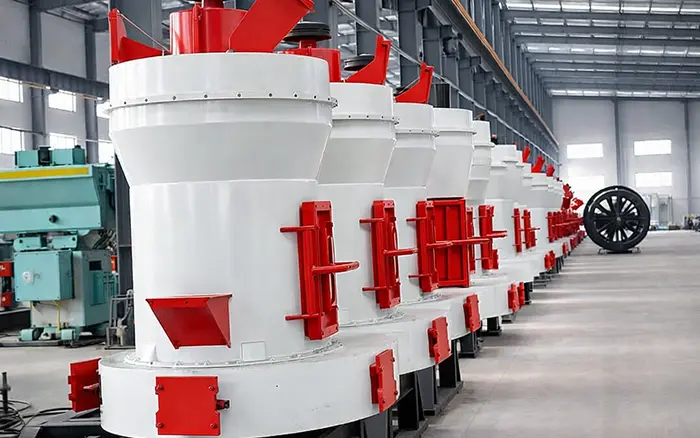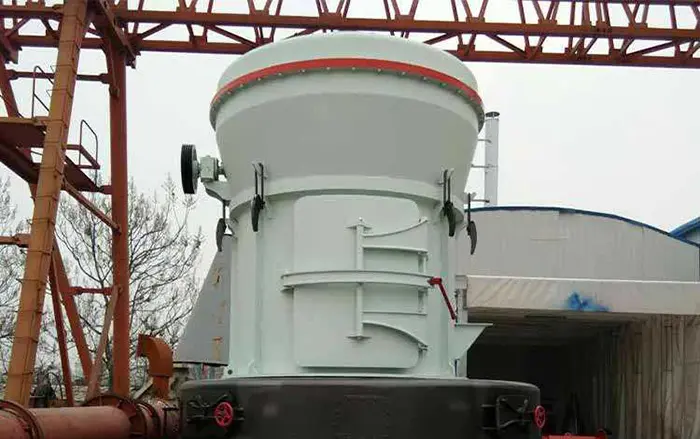
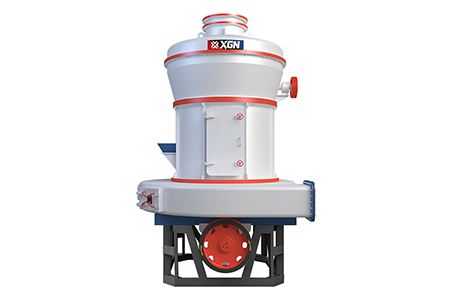
A gearbox failure can stop a Raymond mill even when the grinding rollers, classifier and feeding system remain in normal condition. Excessive temperature, abnormal noise, oil leakage and increasing vibration are common warning signs, but replacing gears immediately is not always the correct solution. Lubrication problems, shaft misalignment, worn bearings or a blocked breather may produce similar symptoms.
Effective Raymond mill gearbox repair therefore begins with fault diagnosis. Technicians should determine whether the problem originates inside the gearbox or from the motor, coupling, pulley, foundation or main mill assembly before dismantling the unit.
Not every Raymond mill uses the same drive arrangement. Some models use a gearbox or speed reducer, while others use a belt-and-pulley transmission. Before following this guide, verify the drive configuration and model specifications of your Raymond Mill.
Safety note: Gearbox inspection and repair should only be performed by trained personnel. Shut down the mill, isolate all energy sources and prevent accidental restart before removing guards, draining oil or opening the gearbox housing.
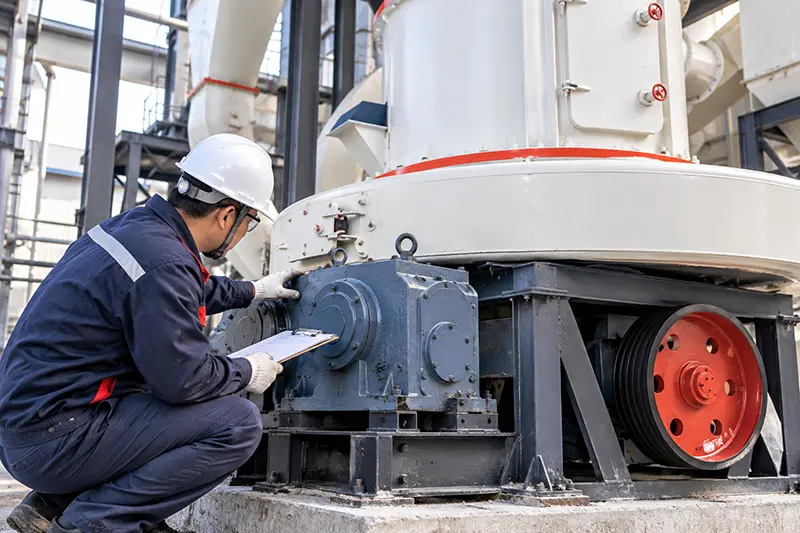
Common Signs of Raymond Mill Gearbox Problems
Gearbox faults usually develop gradually. Recording changes in temperature, sound, vibration and lubricant condition makes it easier to identify the affected component.
| Symptom | Possible gearbox causes | Checks to perform |
|---|---|---|
| Gearbox overheating | Incorrect oil level, unsuitable oil viscosity, contaminated oil, bearing damage, excessive load | Check oil level, oil condition, bearing temperature and mill load |
| Abnormal knocking noise | Broken or heavily worn gear teeth, excessive backlash, loose components | Inspect tooth surfaces, fasteners and gear clearance |
| Continuous humming or whining | Incorrect gear contact, shaft misalignment, bearing wear | Check alignment, contact pattern and bearing condition |
| Oil leakage | Worn shaft seal, damaged gasket, loose housing bolts, blocked breather | Inspect seals, joints, breather and shaft surface |
| Increasing vibration | Coupling misalignment, damaged bearing, worn gears, loose foundation | Measure vibration at the motor, gearbox and mill input |
| Metal particles in oil | Gear pitting, bearing spalling or internal component wear | Inspect drained oil, magnetic plug and filter |
| Unstable mill speed | Gear damage, coupling slip, motor fault or overloaded mill | Compare motor speed, gearbox output speed and mill load |
One symptom alone is not enough to confirm internal gear damage. For example, an overheated gearbox may simply be overfilled with oil, while high vibration may originate from a misaligned motor coupling.
Confirm the Fault Before Opening the Gearbox
Unnecessary disassembly increases downtime and may introduce dust or installation errors. Complete the following checks first.
1. Review the Fault History
Record:
When the symptom first appeared
Whether it occurs during startup, no-load operation or full-load production
Recent lubricant changes
Recent bearing, coupling or motor work
Changes in feed rate or material condition
Temperature and vibration trends
A fault that appears immediately after maintenance often points to oil selection, oil level, alignment or assembly problems.
2. Inspect the Gearbox Externally
Check the housing for:
Fresh oil around shaft seals
Leakage from housing joints
Loose bolts
Cracks or impact damage
Blocked or contaminated breathers
Damaged coupling guards
Loose gearbox or motor foundation bolts
Clean the housing before inspection so that the source of new leakage can be identified accurately.
3. Check the Lubricant
Examine the oil level and condition according to the gearbox manufacturer’s instructions.
Important warning signs include:
Dark or burnt-smelling oil
Milky oil indicating possible water contamination
Visible dust or sludge
Shiny metal particles
Unusually thick or thin oil
Foaming during operation
Do not mix different lubricant types unless compatibility has been confirmed. The correct viscosity and oil quantity depend on the gearbox design, operating temperature and speed.
4. Compare Noise and Vibration Locations
Listen and measure at three locations:
Motor bearing area
Gearbox input and output bearing areas
Raymond mill main shaft or drive connection
If vibration is strongest at the motor or coupling, opening the gearbox may not be necessary. If it is concentrated around one gearbox bearing position or changes with gear-mesh frequency, internal inspection is more likely to be required.
5. Check Coupling and Shaft Alignment
Misalignment places additional radial and axial loads on gearbox bearings. Check:
Motor-to-gearbox alignment
Gearbox-to-mill alignment
Coupling condition
Shaft runout
Soft foot under the motor or gearbox
Foundation bolt tightness
Alignment should be checked with suitable measuring equipment and compared with the manufacturer’s tolerance.
Step-by-Step Raymond Mill Gearbox Repair
Once external causes have been eliminated, the gearbox can be prepared for internal inspection.
Step 1: Shut Down and Isolate the Mill
Stop feeding material and follow the normal shutdown procedure. Disconnect and isolate electrical, hydraulic and pneumatic energy sources. Lock the controls and clearly mark the equipment as under maintenance.
Allow the gearbox to cool before draining oil or opening the housing.
Step 2: Drain and Inspect the Oil
Drain the oil into a clean container. Do not discard it before inspection.
Check the drained lubricant and magnetic drain plug for:
Fine metallic powder
Large metal fragments
Bearing cage material
Seal fragments
Water or slurry contamination
Excessive sludge
Fine particles may indicate progressive wear, while larger fragments usually require immediate internal inspection.
Step 3: Mark the Assembly Position
Before removing the cover, mark:
Housing orientation
Bearing cap positions
Shim locations
Coupling position
Shaft direction
Oil line connections
Take photographs during disassembly. Mixing bearing caps, shims or spacers can alter shaft alignment and gear clearance during reassembly.
Step 4: Open and Clean the Gearbox
Prevent dust from entering the open housing. Remove loose deposits without damaging machined surfaces.
Do not use dirty cloths or tools that may leave abrasive particles inside the gearbox. Debris left after a previous failure can damage new bearings and gear surfaces.
Step 5: Inspect the Gear Teeth
Rotate the shaft slowly and examine the complete circumference of each gear.
Look for:
Pitting
Scuffing
Tooth cracks
Chipped or broken teeth
Uneven wear
Plastic deformation
Corrosion
Abnormal contact concentrated at one edge
Minor polishing marks are not necessarily a reason for replacement. However, cracks, broken teeth or severe pitting can progress rapidly and should be evaluated before the gearbox returns to service.
Where required, use an appropriate crack-detection method. Clean the gear thoroughly before inspection.
Step 6: Inspect Bearings and Shafts
Check bearings for:
Rough rotation
Excessive clearance
Discoloration caused by heat
Pitting or spalling
Cracked rolling elements
Damaged cages
Fretting on the shaft or housing fit
Also inspect the shaft journals, shoulders, keyways and threads. Installing a new bearing on a worn or damaged shaft will not provide a lasting repair.
Step 7: Inspect Seals, Gaskets and Breather
Oil leakage is often caused by surrounding components rather than the gear set.
Inspect:
Shaft seals
Seal contact surfaces
Housing gaskets
Oil plugs
Inspection covers
Breather passage
Oil-return passages
Replace hardened, cracked or deformed seals. If the shaft has a wear groove at the seal contact point, repair or replace the affected surface instead of fitting only a new seal.
Step 8: Check Backlash and Gear Contact
Gear backlash and contact pattern must match the gearbox manufacturer’s specification.
Too little backlash can cause:
Excessive heat
Gear noise
Lubrication-film failure
Tooth surface damage
Too much backlash can cause:
Impact loading
Knocking noise
Unstable power transmission
Accelerated tooth wear
Use the correct measuring method for the gearbox design. Do not set backlash according to a generic value taken from another Raymond mill model.
Step 9: Replace or Repair Damaged Components
The repair method depends on the extent of the damage.
| Component condition | Recommended action |
|---|---|
| Worn or damaged bearing | Replace the bearing and inspect the shaft and housing fits |
| Hardened or leaking seal | Replace the seal and inspect the shaft sealing surface |
| Blocked breather | Clean or replace the breather |
| Minor removable surface contamination | Clean and inspect again |
| Severe gear pitting | Replace the affected gear according to manufacturer guidance |
| Cracked or broken tooth | Replace the gear; inspect the mating gear and shafts |
| Bent or cracked shaft | Replace or professionally restore after engineering assessment |
| Damaged housing bore | Measure and repair using an approved machining method |
| Repeated misalignment | Correct the foundation, coupling and shaft alignment before startup |
Mating gears may need to be replaced as a set. Installing one new gear against a severely worn mating gear can create poor contact and rapid repeat failure.
Step 10: Reassemble the Gearbox
During reassembly:
Clean all internal surfaces
Keep bearings and gears free from dust
Install seals in the correct direction
Return shims and spacers to their verified positions
Tighten fasteners according to the specified sequence and torque
Confirm shaft rotation before connecting the motor
Fill with the specified lubricant
Verify the oil level after allowing the oil to settle
Do not reuse contaminated oil after an internal failure.
Post-Repair Testing
A Raymond mill gearbox repair is not complete when the housing is closed. The unit must pass a controlled startup and load test.
No-Load Test
Run the drive without grinding load where the equipment design permits. Check:
Direction of rotation
Abnormal sound
Oil leakage
Bearing temperature
Gearbox vibration
Oil circulation
Output shaft stability
Stop the unit immediately if knocking, rapid temperature rise or heavy vibration appears.
Gradual Load Test
Increase the feed gradually instead of applying full load immediately. Record temperature and vibration at consistent operating conditions.
Monitor:
Gearbox housing temperature
Input and output bearing temperature
Motor current
Vibration trend
Lubricant leakage
Mill speed
Sound at different loads
A stable initial test does not guarantee that the repair is complete. Recheck the lubricant level, bolts, seals and coupling after the first controlled operating period.
Why Raymond Mill Gearbox Failures Repeat
Replacing a damaged part without correcting the root cause often leads to another failure.
Common reasons for repeat damage include:
Incorrect lubricant type or oil level
Dust entering through damaged seals or breathers
Water contamination
Misaligned motor or coupling
Loose foundation bolts
Excessive feed rate
Starting the mill under abnormal load
Incorrect bearing fit or clearance
Incorrect gear backlash
Remaining debris after a previous failure
A root-cause record should identify the failed component, damage pattern, operating condition and corrective action. This is more useful than recording only that a gear or bearing was replaced.
Repair or Replace the Gearbox?
Repair may be appropriate when:
Damage is limited to replaceable bearings or seals
Shafts and housing remain within tolerance
Replacement gears are available
The gearbox model is still supported
Repair cost and downtime are reasonable
Replacement should be considered when:
Several gears and shafts are severely damaged
The housing is cracked or distorted
Replacement components are unavailable
The gearbox has suffered repeated failures
The repair cost approaches the cost of a compatible new unit
The existing gearbox no longer matches the required mill load
The replacement gearbox must match the required input speed, output speed, torque, service factor, mounting arrangement and shaft connection. Selecting a replacement only by motor power is not sufficient.
Preventive Checks After Repair
A simple inspection routine can reduce repeat gearbox failures.
Each Shift
Listen for new noise
Check for fresh oil leakage
Observe vibration
Confirm stable mill operation
Regular Inspection
Check oil level
Clean the breather
Inspect seals and housing joints
Check foundation and coupling bolts
Record temperature under comparable load
Scheduled Maintenance
Analyze or replace lubricant according to operating condition
Check shaft alignment
Inspect coupling wear
Review vibration trends
Inspect accessible gear and bearing surfaces
Replace damaged seals before dust reaches the lubricant
For an overview of the other components surrounding the drive assembly, refer to the Raymond mill parts guide.
Conclusion
Successful Raymond mill gearbox repair depends on identifying the root cause before replacing components. Oil leakage, overheating, abnormal noise and vibration may result from lubrication, alignment, bearings, seals or gear damage, and each cause requires a different corrective action.
Inspect the complete drive system, keep internal components clean during repair, follow the model-specific backlash and lubrication requirements, and complete no-load and gradual-load testing before returning the mill to normal production. This approach reduces repeat failures and avoids replacing serviceable components unnecessarily.