

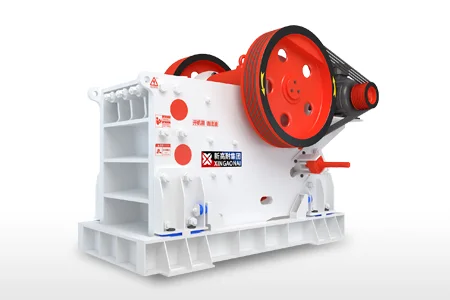
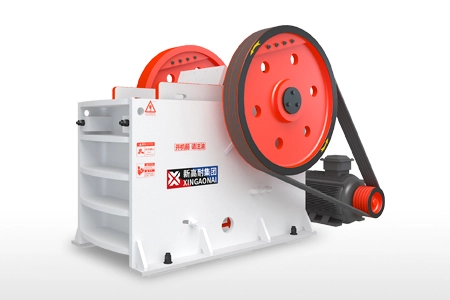
Why Is Jaw Crusher Gap Adjustment Important?
Control Particle Size: The gap determines the maximum size of crushed materials (e.g., a 50mm gap produces 50mm-max aggregates). Adjusting it ensures compliance with project-specific particle size requirements.
Optimize Crushing Efficiency: A properly set gap balances throughput and energy consumption—avoiding waste from over-crushing or reprocessing oversized materials.
Protect Equipment: An incorrect gap increases stress on the jaw plates, eccentric shaft, and frame, leading to premature wear and costly breakdowns.
Ensure Product Uniformity: A precise gap ensures consistent particle size distribution, improving the quality of aggregates for construction, road building, or mineral processing.

Preparations Before Adjusting Jaw Crusher Gap
Stop Operation & Secure the Equipment: Shut down the jaw crusher and disconnect the power supply. Use a lockout-tagout (LOTO) system to prevent accidental startup—this is the most critical safety step.
Clear Residual Materials: Remove any remaining rocks or debris from the crushing chamber using tools like a crowbar or shovel. Never enter the chamber or reach inside with hands.
Inspect Key Components: Check jaw plates for wear (replace if overly worn, as wear affects gap accuracy), and inspect the eccentric shaft, toggle plate, and springs for damage or looseness.
Gather Required Tools: Prepare tools based on your crusher’s adjustment type (see Section 3). Common tools include a wrench set, feeler gauge, tape measure, hammer, and safety gear (hard hat, safety glasses, gloves, steel-toe boots).
Refer to the Equipment Manual: Different jaw crusher models (e.g., overhead eccentric, toggle plate, hydraulic) have slight variations in adjustment methods. Always consult the manufacturer’s manual for model-specific instructions.
3 Common Methods to Adjust Jaw Crusher Gap
1. Shim Adjustment Method (Most Common for Small-to-Medium Jaw Crushers)
Locate the Shim Pack: The shim pack is typically found at the rear of the crusher, between the toggle plate (which connects the moving jaw to the frame) and the adjustment seat.
Loosen the Adjustment Bolts: Use a wrench to loosen the locking bolts that secure the shim pack and toggle plate. This allows the moving jaw to shift.
Add/Remove Shims to Adjust Gap:
To narrow the gap: Remove one or more shims (start with thin shims, e.g., 1-2mm, for precise adjustment).
To widen the gap: Add shims of the desired thickness (ensure shims are clean and properly aligned to avoid uneven pressure).
Re-Tighten the Bolts: Once the shims are adjusted, re-tighten the locking bolts evenly to secure the toggle plate and shim pack. Avoid over-tightening, as this can warp components.
Verify the Gap: Use a feeler gauge or tape measure to check the gap (measure at the bottom of the jaw plates, where discharge occurs). Repeat adjustments if needed.
2. Wedge Adjustment Method (For Large-Scale or Heavy-Duty Jaw Crushers)
Locate the Wedge Assembly: The system consists of two overlapping wedges (top and bottom) at the rear of the crusher. Rotating the adjustment bolt moves the wedges up or down, shifting the moving jaw.
Loosen the Locking Nut: Use a wrench to loosen the locking nut on the adjustment bolt.
Adjust the Wedge Position:
To narrow the gap: Rotate the adjustment bolt clockwise—this drives the top wedge downward, pushing the moving jaw toward the fixed jaw.
To widen the gap: Rotate the adjustment bolt counterclockwise—this lifts the top wedge, allowing the moving jaw to move away from the fixed jaw.
Lock the Adjustment: Once the desired gap is achieved, re-tighten the locking nut to secure the wedges in place.
Check Gap Accuracy: Measure the discharge gap with a tape measure or feeler gauge. Make minor adjustments if the gap is uneven (e.g., adjust one side slightly if the gap varies left-to-right).
3. Hydraulic Adjustment Method (Modern, Automated Jaw Crushers)
Activate the Hydraulic System: Ensure the crusher is powered off (but hydraulic power may remain on, per manual instructions). Use the control panel to access the gap adjustment function.
Set the Desired Gap: Enter the target gap size into the PLC control system (most hydraulic crushers have digital displays for real-time gap monitoring).
Initiate Automatic Adjustment: The hydraulic system will extend or retract cylinders to shift the moving jaw to the target position. The system automatically locks the position once adjusted.
Verify with Manual Measurement: Even with automated adjustment, confirm the gap with a feeler gauge or tape measure to ensure accuracy (digital readings may have minor deviations).
Test Run: Conduct a short test run with a small amount of material to validate the gap setting (see Section 4).

Post-Adjustment Verification & Testing
Manual Gap Check: Re-measure the discharge gap at three points (left, center, right) to ensure uniformity. A variation of more than 5mm indicates misalignment—re-adjust the shims/wedges to correct it.
Test Run: Start the jaw crusher and feed a small amount of material (consistent with normal operating conditions).
Inspect Finished Product: Collect the crushed material and check particle size with a screen or sieve. If particles are too large, narrow the gap slightly; if too fine, widen it.
Monitor Equipment Operation: During the test run, listen for unusual noises (e.g., grinding, knocking) and check for excessive vibration—these may indicate misalignment or incorrect gap setting.
Fine-Tune if Needed: Repeat the adjustment process for minor tweaks until the product size and crusher operation are optimal.
Key Safety & Operational Precautions for Jaw Crusher Gap Adjustment
Never Adjust While Operating: Always stop the crusher, disconnect power, and use LOTO before adjusting the gap. Adjusting during operation risks serious injury from moving parts or flying debris.
Ensure Uniform Adjustment: Adjust both sides evenly to avoid jaw plate misalignment, which causes uneven wear and poor product quality.
Don’t Exceed Design Limits: Never set the gap narrower than the manufacturer’s recommended minimum (typically 5-10mm, depending on the model). This leads to overheating, high energy consumption, and catastrophic wear.
Replace Worn Jaw Plates First: Worn jaw plates (especially at the bottom) make gap adjustment inaccurate. Replace or flip jaw plates (most are reversible) before adjusting.
Train Operators: Only trained personnel should perform gap adjustments—untrained operators may misadjust the gap or ignore safety protocols.
Document Adjustments: Record gap settings, adjustment date, and product quality results. This helps identify optimal settings for different materials and simplifies future adjustments.
How Often Should You Adjust Jaw Crusher Gap?
Material Hardness: Abrasive materials (e.g., basalt) cause faster jaw plate wear, requiring more frequent adjustments (every 1-2 weeks).
Production Volume: High-capacity operations (100+ TPH) may need weekly checks, while small-scale operations can check monthly.
Product Quality Requirements: Projects with strict particle size standards (e.g., highway construction) require more frequent adjustments than general construction.
Regular Inspections: Incorporate gap checks into daily or weekly equipment inspections to catch wear-related gap changes early.